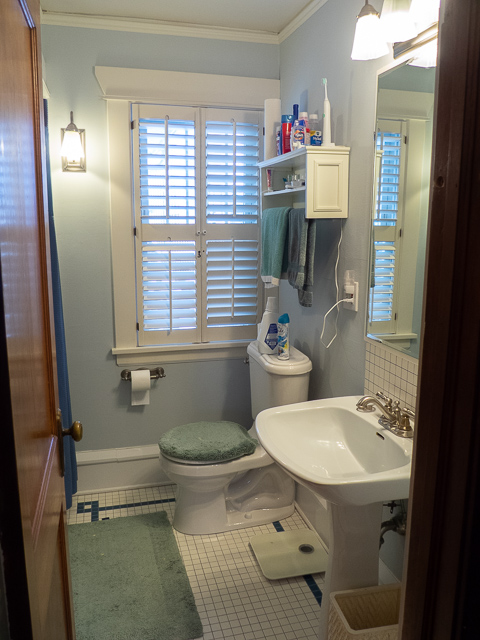
Before - looking from the hall into the bathroom; tub/shower to the left obscured by the door (28 February).
When we came back from our 2018 travels to Tasmania and Thanksgiving in Blacksburg, I found that when I hopped into the shower, the flow rate had dropped to where the water was simply falling out of the shower head rather than being propelled by the (dubious) flow. The flow rate in the shower had always been low and unsatisfactory since we bought the house, and we assume that the piping in clogged with scale, and would need to be dealt with eventually.
I had sort of hoped that we would move before this became necessary, but further delaying resolution of the issue was no longer an option. So I reached out to a designer who had done work for some friends in the neighborhood to produce a design for us that replaced the tub with a walk-in shower.
Since we started moving on the project, and after a couple of noisy clunking sounds in the pipes, the shower flow has returned to its original inadequate flow rate. Just for fun, we measured the flow rate at 0.5 gallons/minute from the shower head. We found out while looking at shower fixtures, the "normal" flow rate should be 2.0 - 2.5 gallons per minute.
The bathroom is small, and doesn't lend itself to photography so the photos below are a bit cropped.
Before - looking from the hall into the bathroom; tub/shower to the left obscured by the door (28 February).
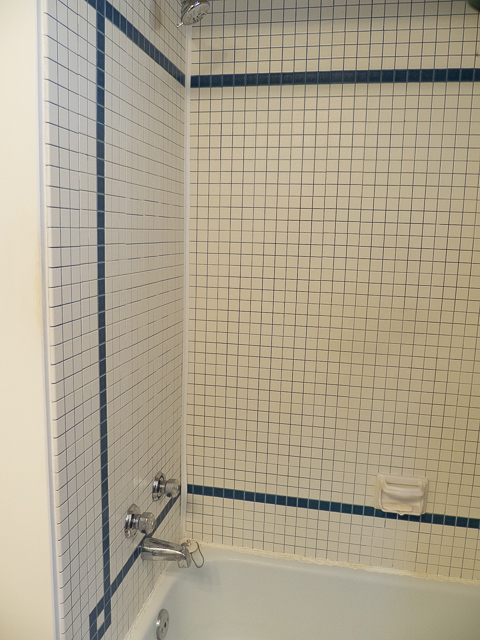
Before - tub/shower (28 February).
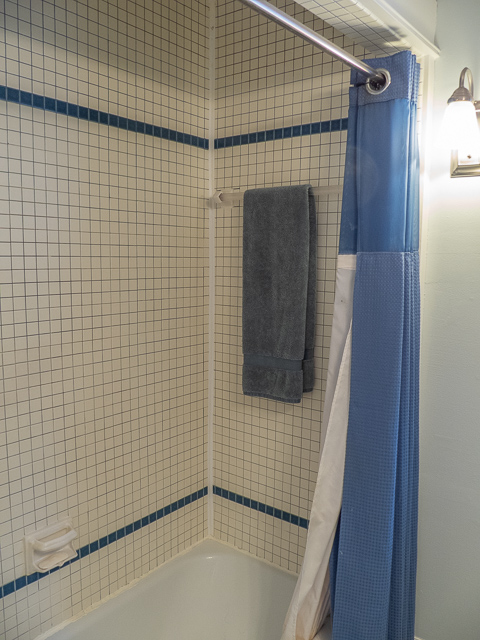
Before - tub/shower (28 February).
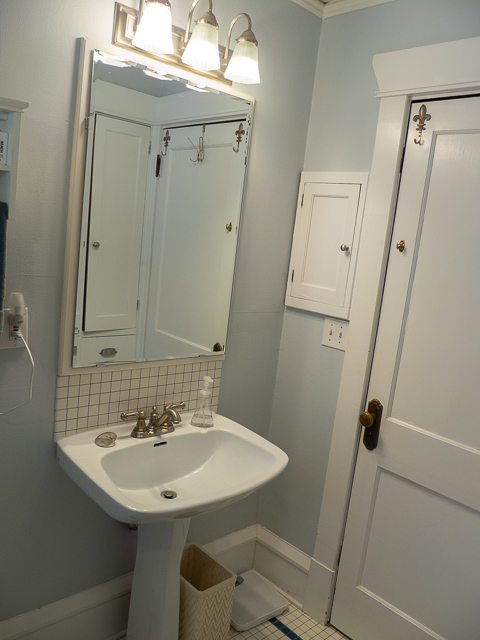
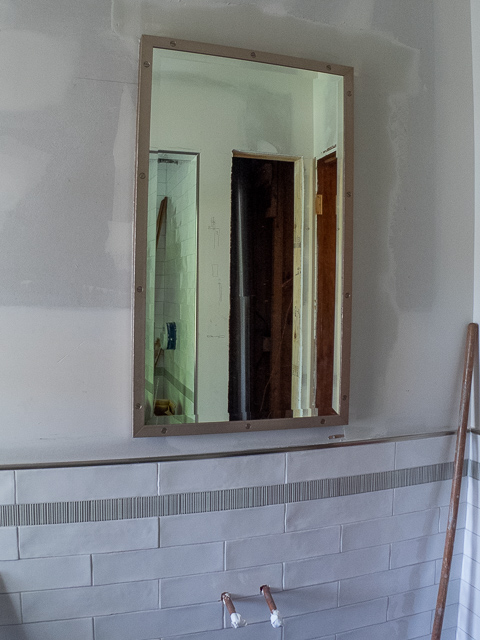
Before - vanity and mirror - there is no cabinet behind the mirror; the project aims to put one there if we don't find anything blocking access. (28 February).
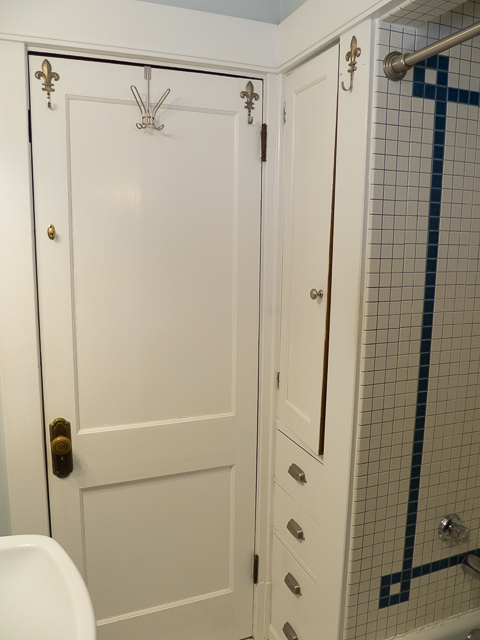
Before - taken from the toilet back towards the hall (28 February).

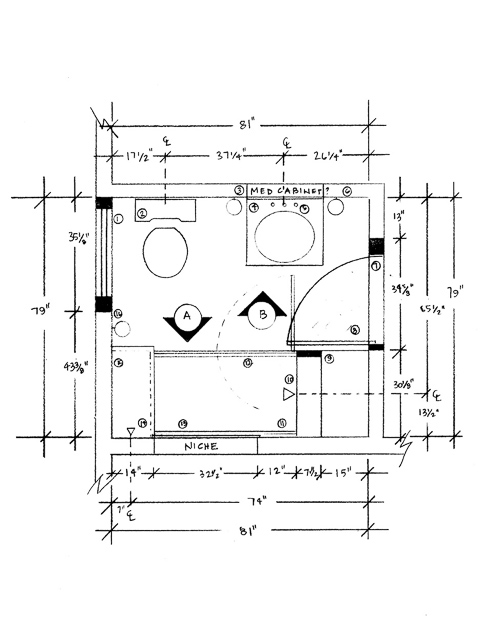
Elevation "B" looking at the toilet and vanity, with new tile wainscoting (28 February).
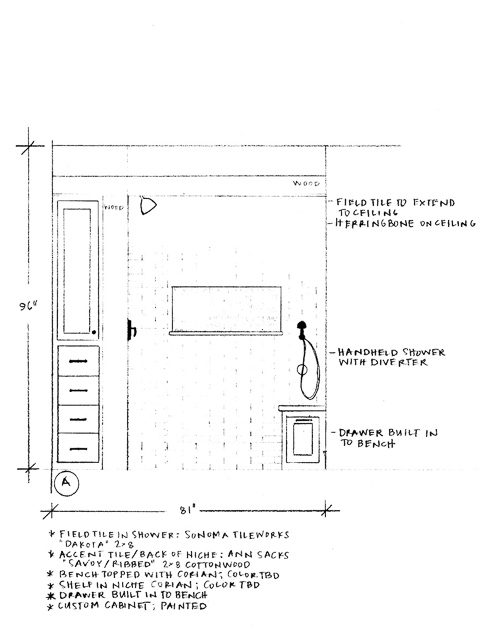
Elevation "A" looking at the shower, the niche will be lined with accent tile; a drawer under the shower bench reclaims storage space (28 February).
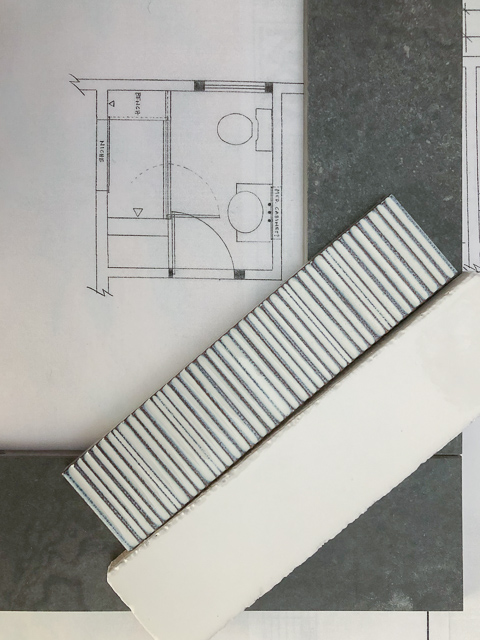
The selected tile; grey porcelain tile on the floor to mimic slate, long subway tile with distressed edge to give a period feel to the room, and the accent tile has bluish-green at the edges between the light and dark stripes which are textured (28 February).
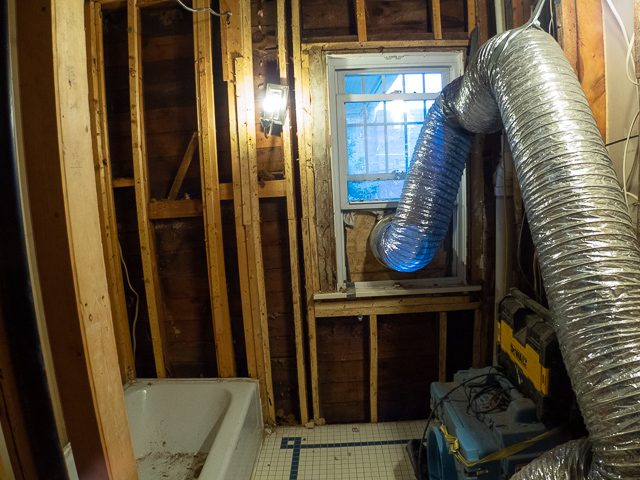
Demolition is amost complete in this shot. The tub and floor have since been removed. The vent hose to the window was used with a filter to capture any particulates - without knowing for sure, the assumption is that there is lead in the paint and asbestos in the insulation (02 May).
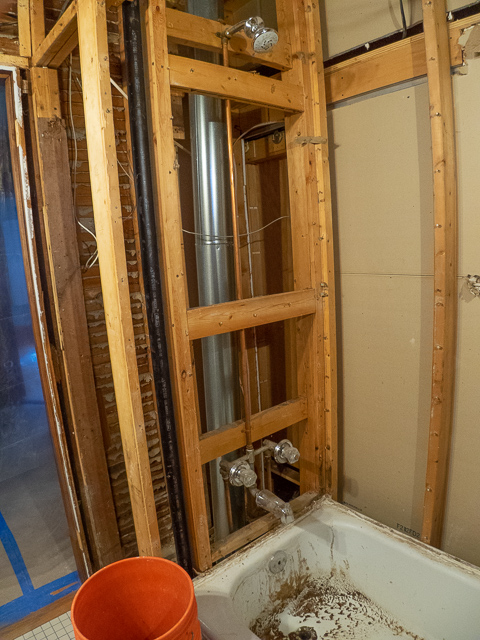
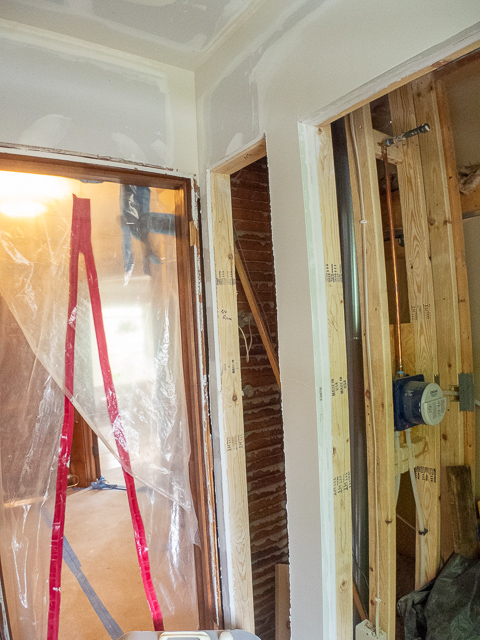
The piping behind the shower is exposed, along with an A/C vent. The tub was broken into pieces with a sledge hammer (not as noisy as I thought it would be - I was in the next room) and removed. The old framing has also been removed are reframed (02 May).
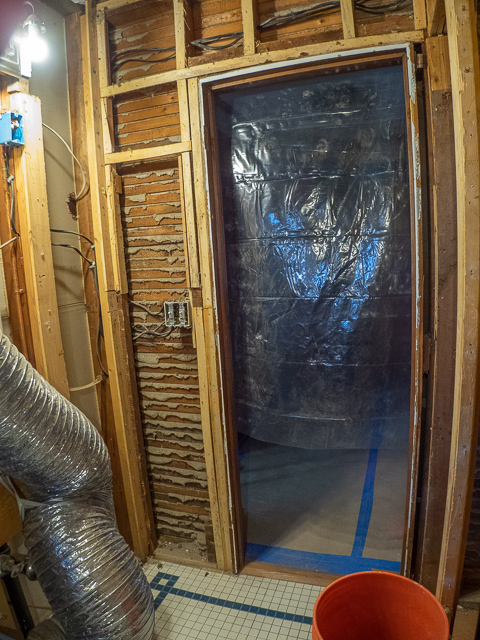
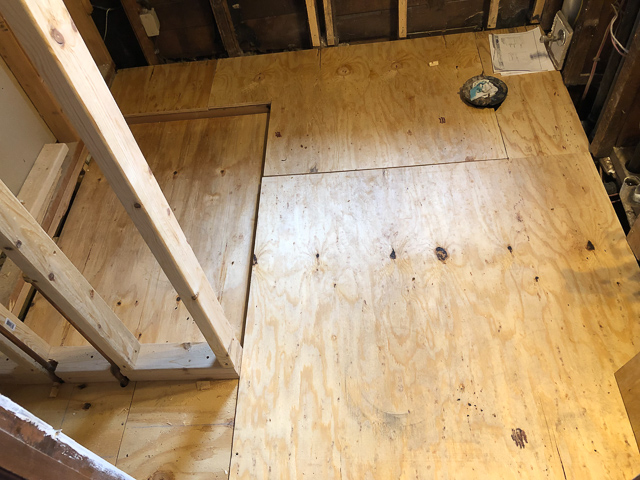
Looking back out to the hallway. When they removed the floor, exposing the spaghetti of piping and wiring, I couldn't find a joist that went from one side of the room to the other. The next steps promise to be “interesting” (02 May).
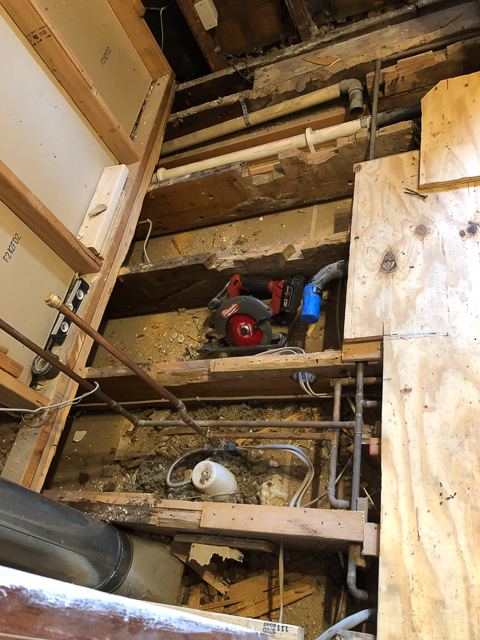
Looking in the door to the left - the situation under the floor (06 May).

Looking in the door to the right - the situation under the floor (06 May).
Looking in the door - the carpenter has shaved down the joists to lower area where the shower will go. An in-line drain will run along the wall to the left (06 May).
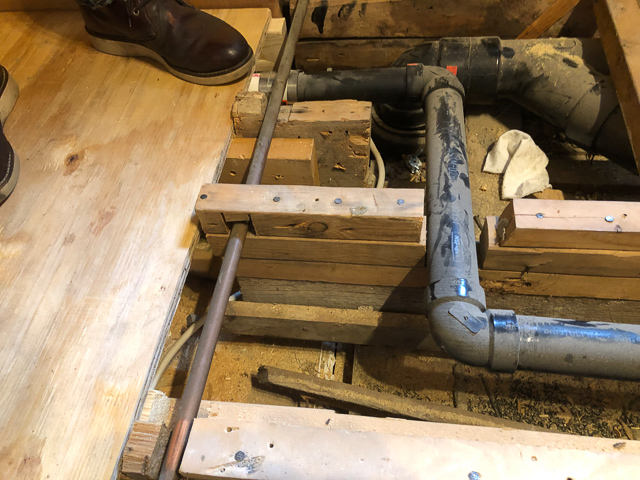
The floor supports underneath had been built up with pieces and scrap. “Firewood” was the term Ron, the contractor, used to describe it (09 May).
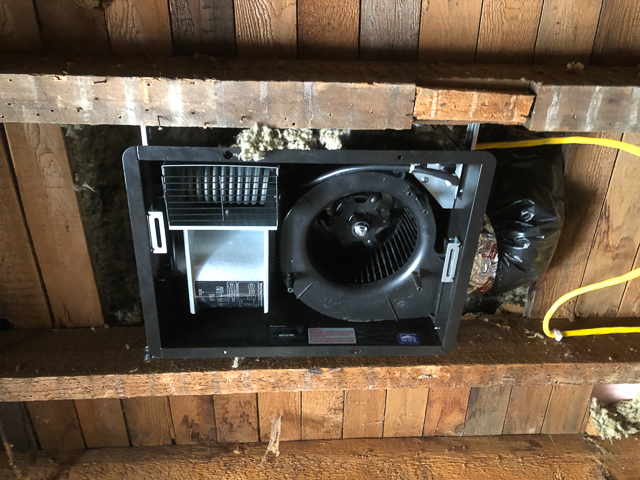
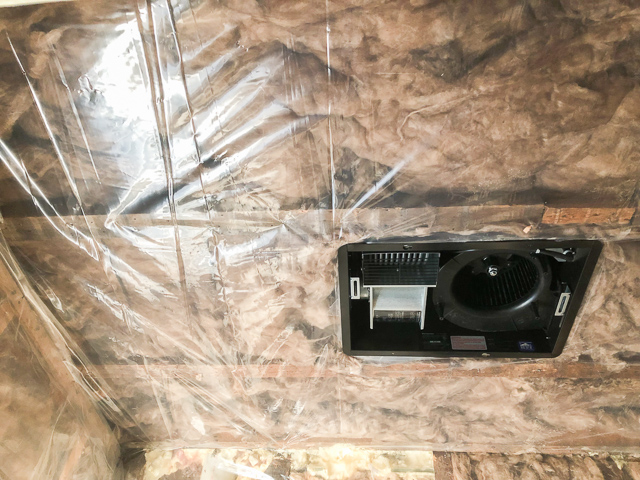
The new ceiling fan with heater (15 May).
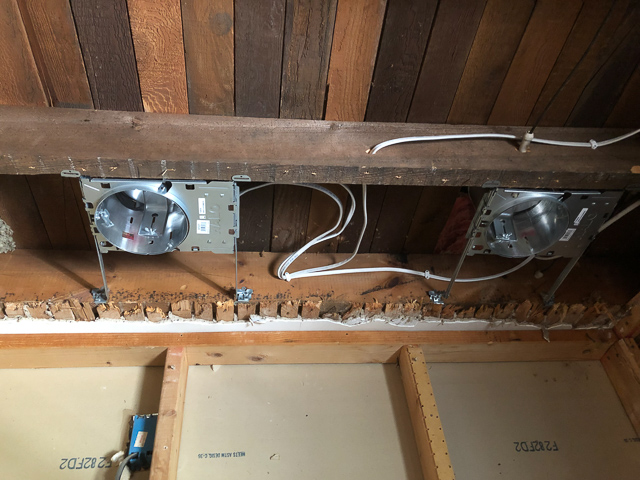
Recessed lighting over the shower - the original plans only called for one, but the location (and code requirements for the handling thereof) of some knob & tube wiring made the second light an elegant solution. They will be on a dimmer (15 May).
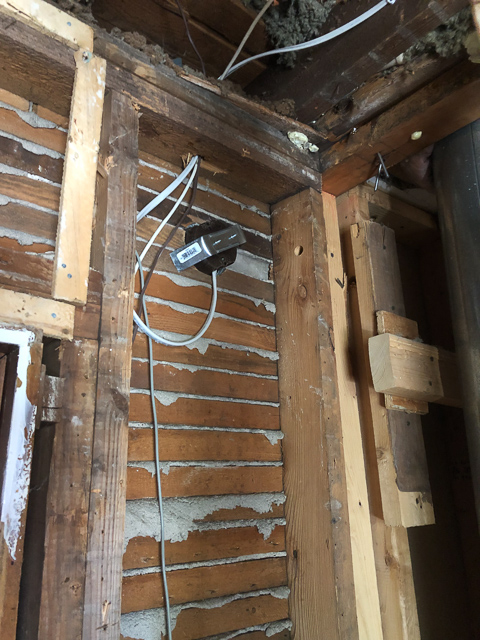
Cleaning up the electrical connections included installation of a box for the hard-wired smoke detector replacing a wire poked through the plaster (15 May).
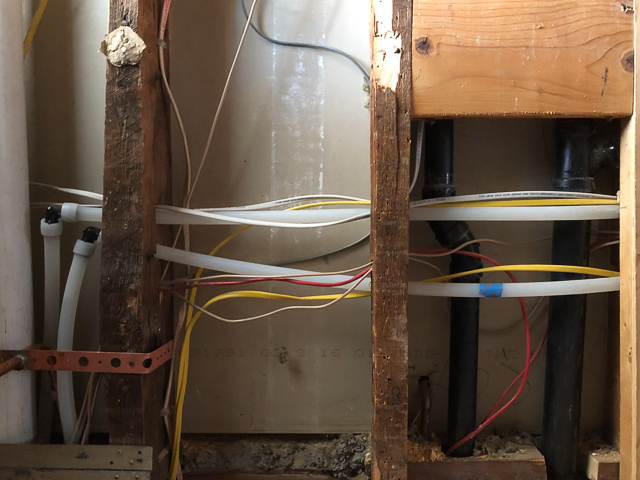
The consolidated wiring and plumbing on the wall with the toilet (which will go to the left) and the vanity (goes to the right). (15 May).
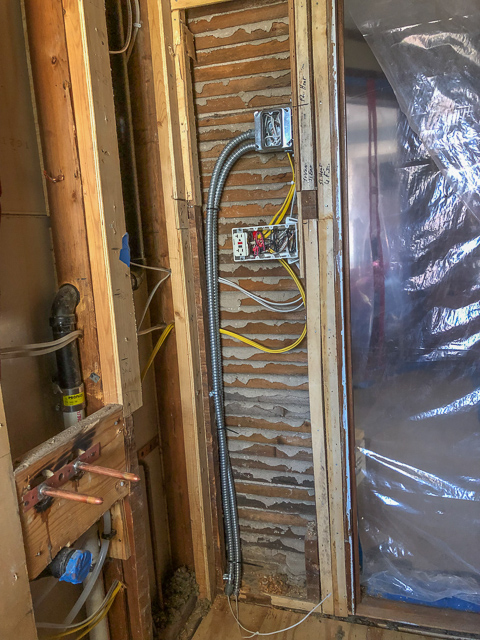
The heavy electrical connection will go to the in-floor heater (15 May).
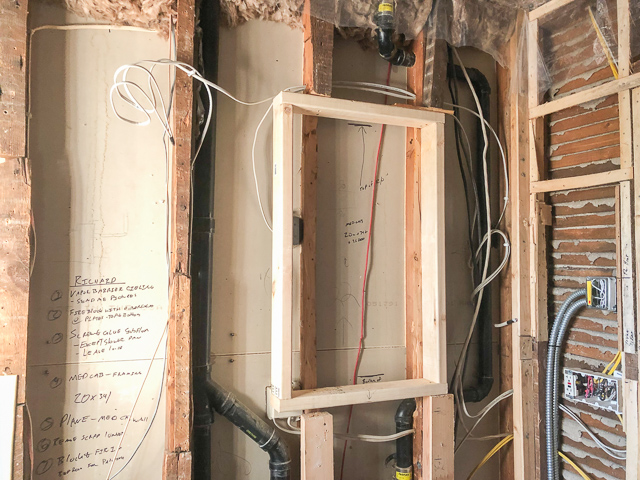
The framing for the medicine cabinet; the contractor left a list of instructions written on the wall between two studs for the carpenter (25 May).
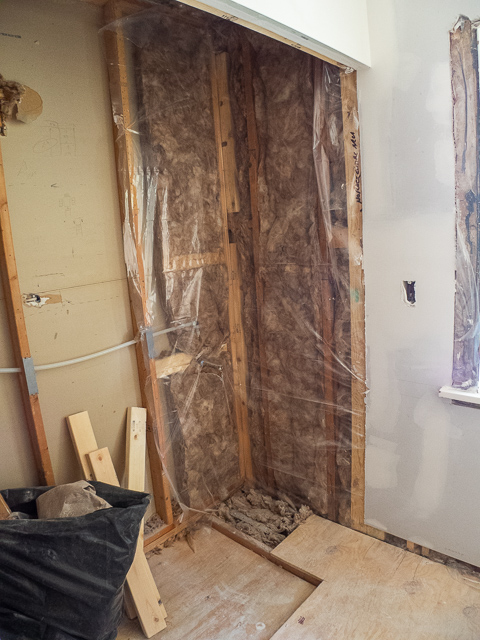
The vapor barrier installed over the insulation (25 May).
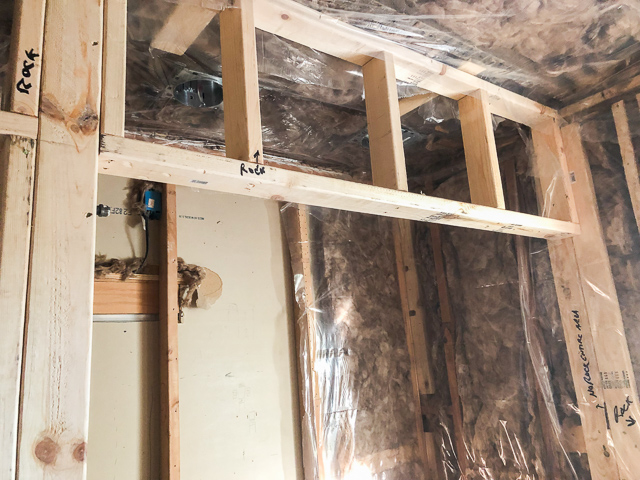
More vapor barrier and the framing for the shower (25 May).
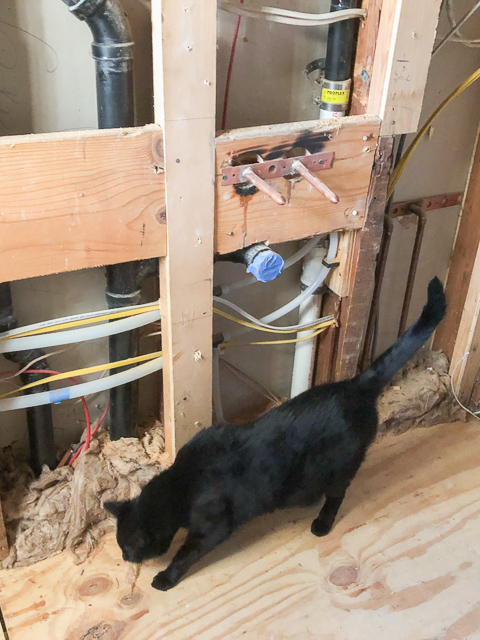
Pippin finally gets a chance to investigate; Tillie had slipped in a couple days earlier, but I managed to scoop her up before she got into any trouble (25 May).
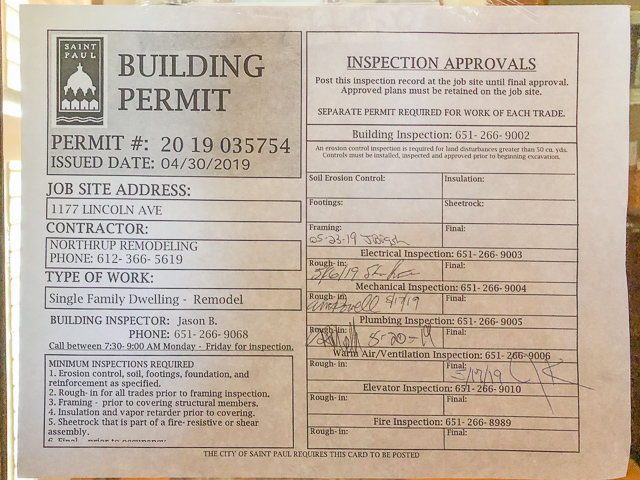
The permit with the inspectors' signatures after the completion of the rough-in work (25 May).
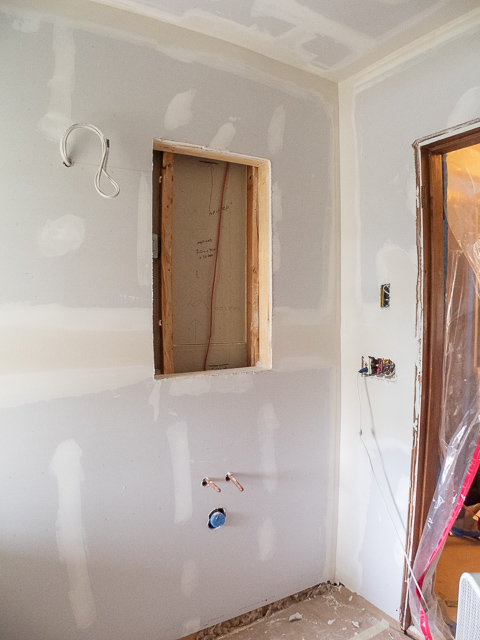
Sheetrock and first joint plaster applied; I'm wondering why there aren't any openings for the sconces on either side of the medicine cabinet opening (May 29).
The tall narrow opening behind the shower will house storage cabinet - shelves on top, drawers on bottom (May 29).
A before shot of the shower, prior to addition of the bench and window replacement (June 04).
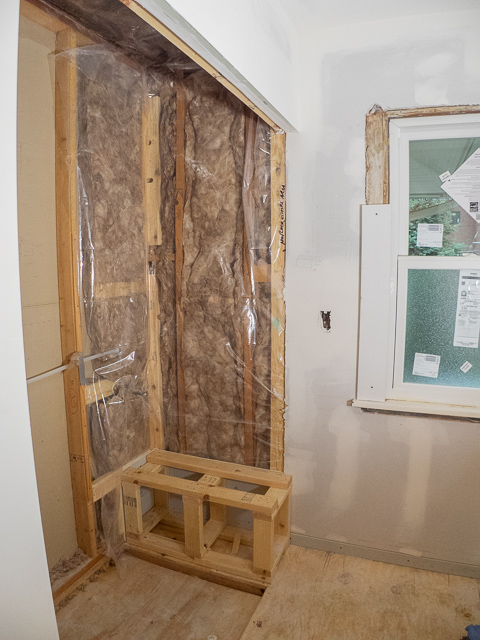
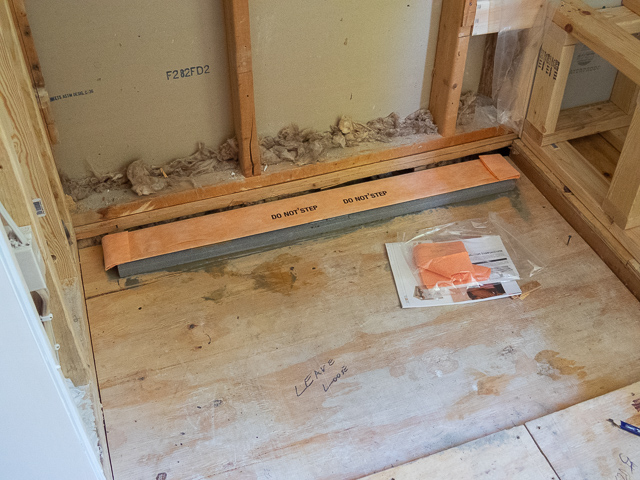
The bench and window are now in place - the floor, except for the shower itself, has been secured (June 04).
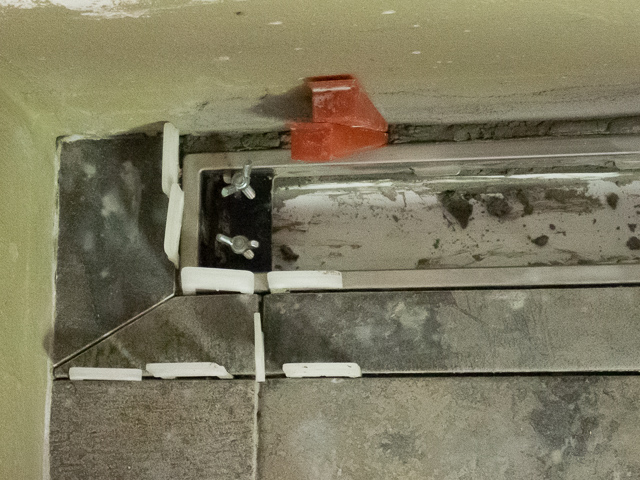
The in-line drain has been secured into place, a joint effort for the plumber and the tile installer (June 10).
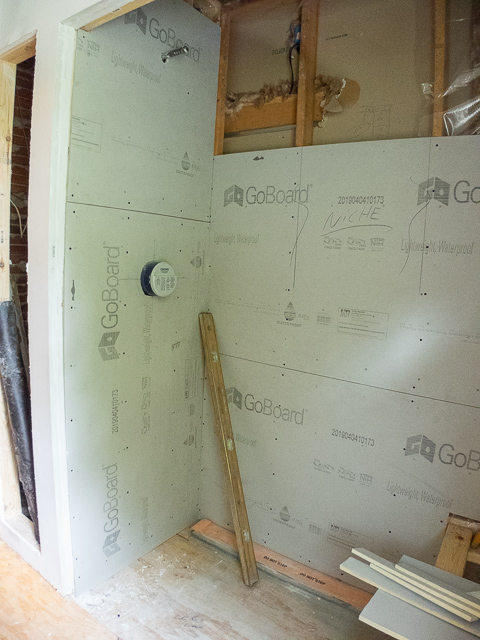
The waterproof backer board is foam with fiberglass on either side (June 11).
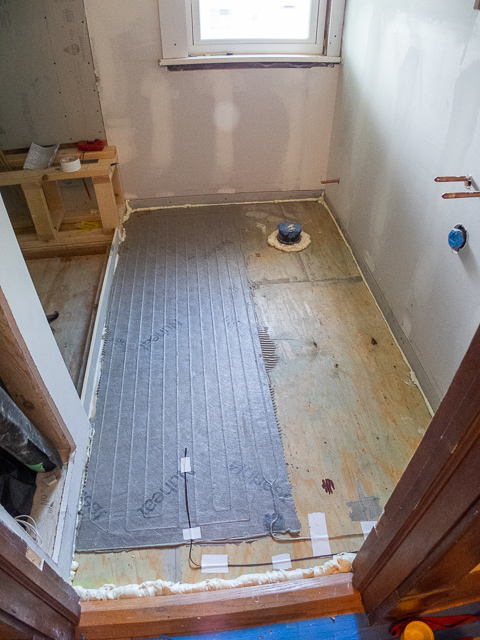
The floor heating mat is glued into place prior to pouring the concrete to level the floor (June 12).
Leveling the floor (June 12).
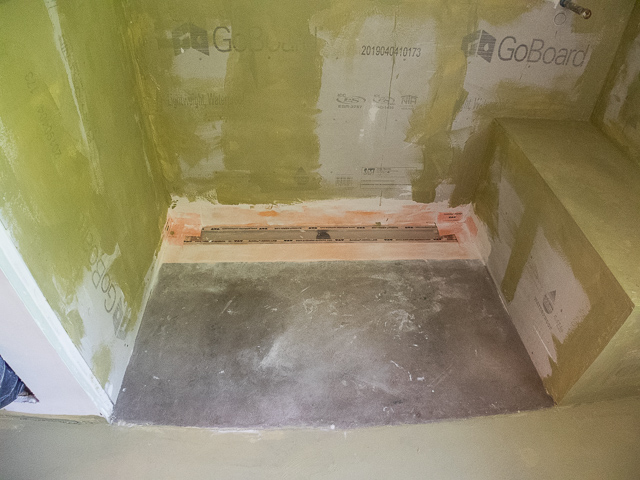
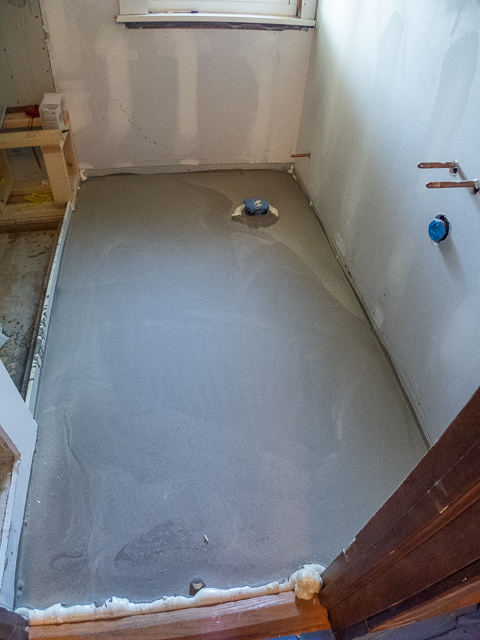
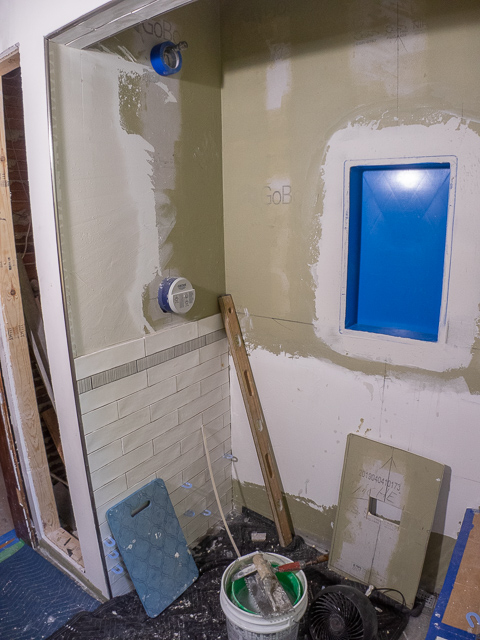
The concrete floor in in the shower was poured – shoveled really – with a consistency of damp sand and then tamped into shape. The olive green looking "paint" is latex waterproofing which dries to grey (June 16).
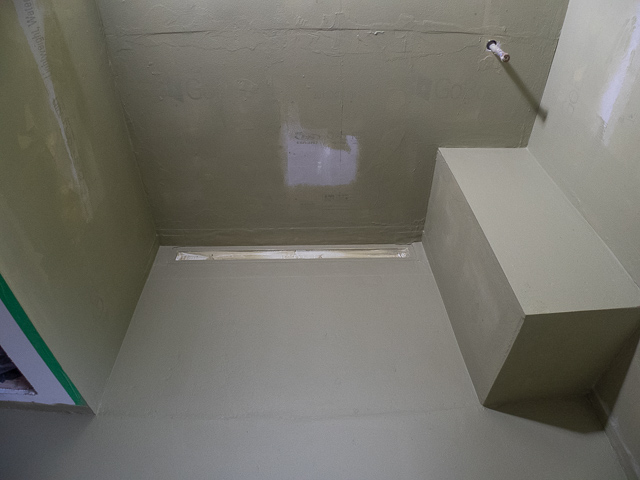
All but the last layer of waterproofing has been applied. Next step tomorrow is the pan inspection where, after plugging the drain, they pour 5 gallons of water on the floor and see if the pan holds water (June 17).
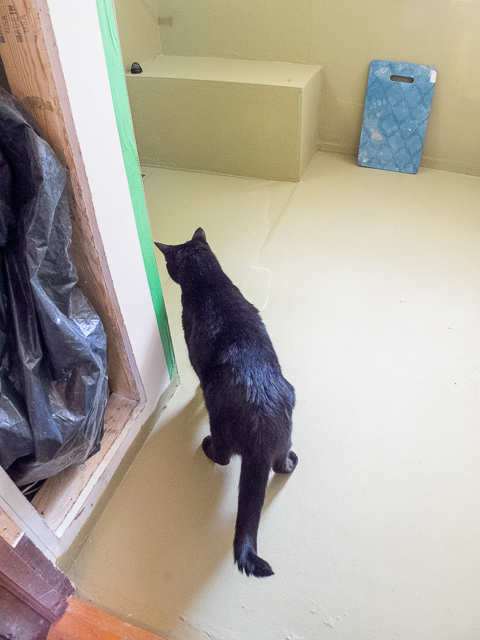
“What’s all this water doing on the floor?” – Pippin checks out the pan testing (June 18).
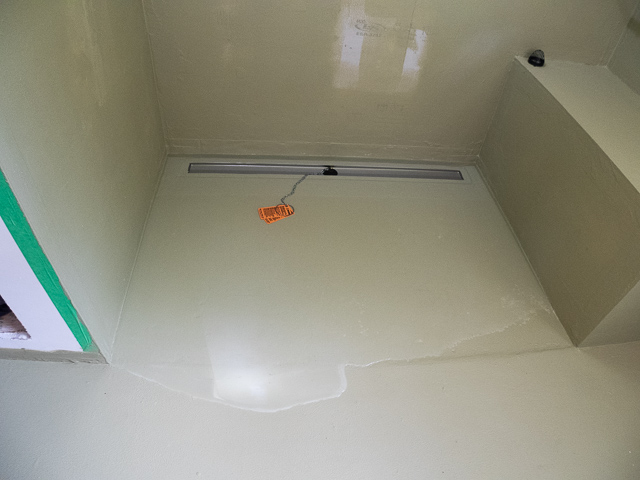
With the drain plugged and the water standing and not draining, we are ready for the pan inspection (June 18).
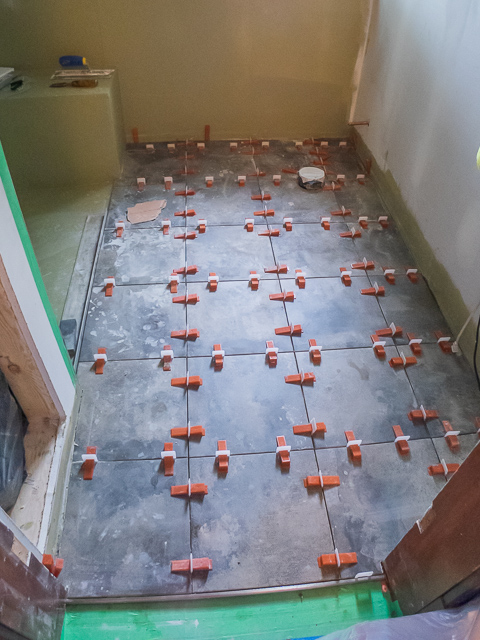
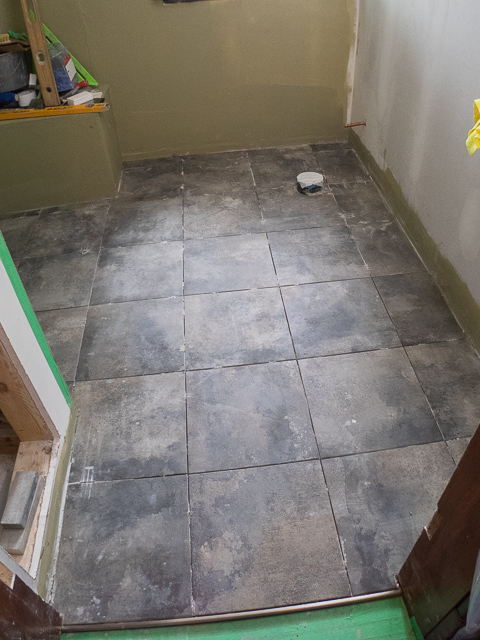
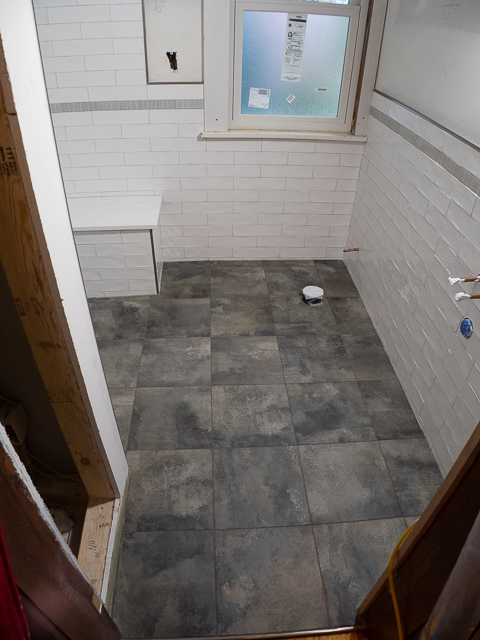
Finally! The first evidence of a final finish in the bathroom as the porcelain floor tile is installed in the main area of the bathroom (June 20).
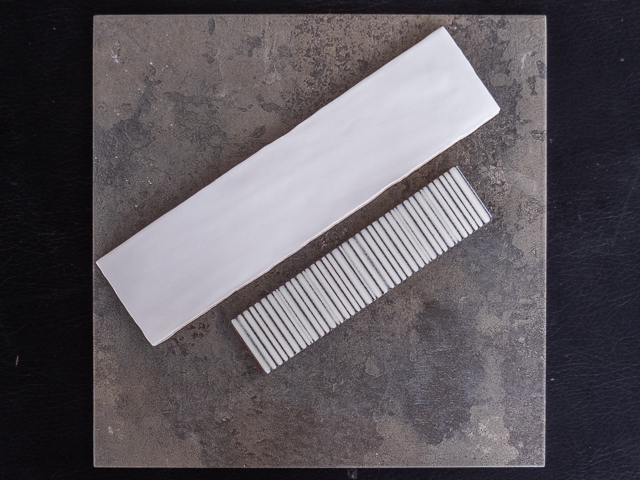
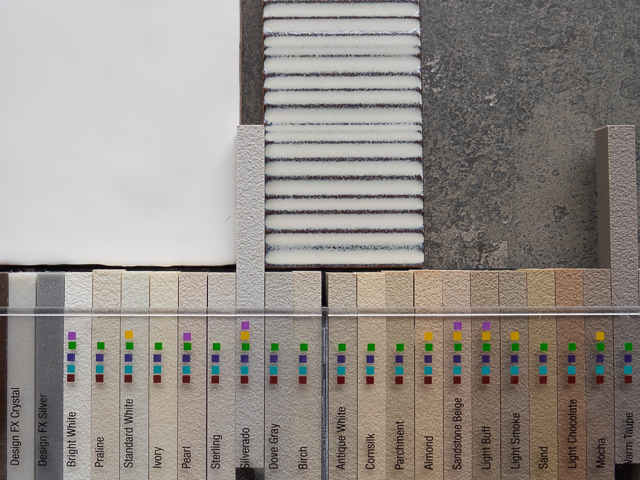
Also, finally have samples of the final selections to display - the lighting adjusted to show the uneven surface of the subway tile - which also has “hand finished” edges for a more period look. Both the subway tile and floor tile were selected to help reduce costs, while we kept the original accent tile selection (June 20).

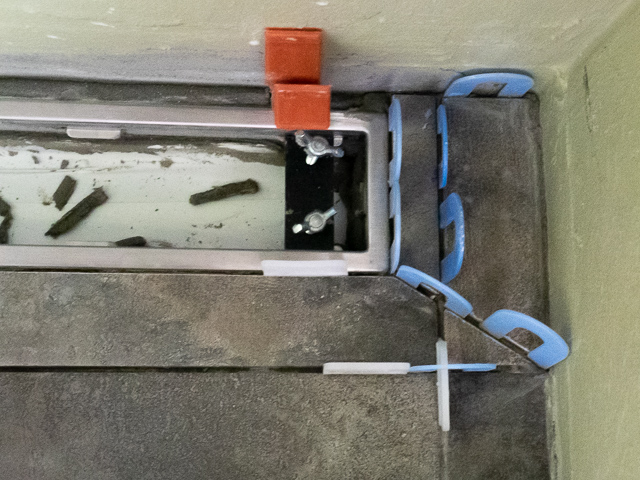
The tile has been placed in the shower area now except for the fine cuts that need to be made around the linear drain (June 21).
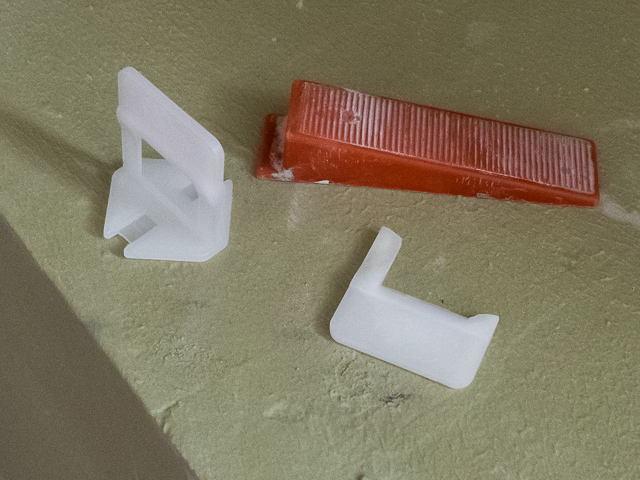
Close-up of the tile leveling system the tile installer has been using. The broken piece came from yesterday's installation where they've been snapped off now that the tile is set (June 21).
The linear drain just before the final floor tile pieces are set (June 25).
The left side only required two pieces, both are pitched so that water goes to the drain and won't puddle in the corner (June 25).
The right side was more complicated. There is no floor tile behind/on the wall side of the drain as the wall tile will fill that gap (June 25).
"Silverado" will be used for the wall grout; "Warm Taupe" for the floor (June 26).
A view of the floor without the spacers before it disappears under the quilts and drop clothes for the tiling of the walls (June 26).
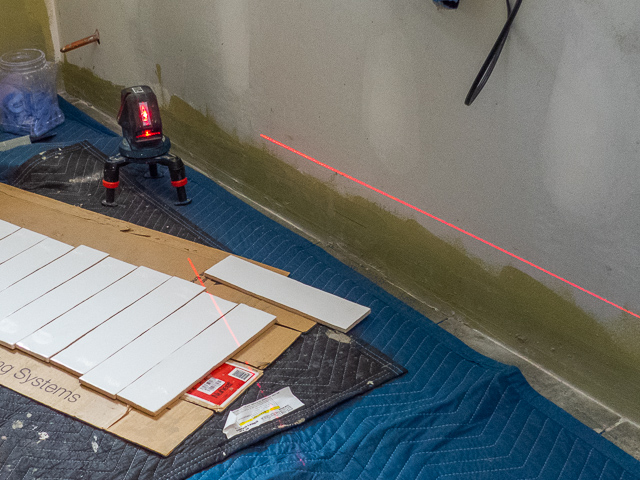
The laser leveler was used to establish the lines for the tiles (June 26).
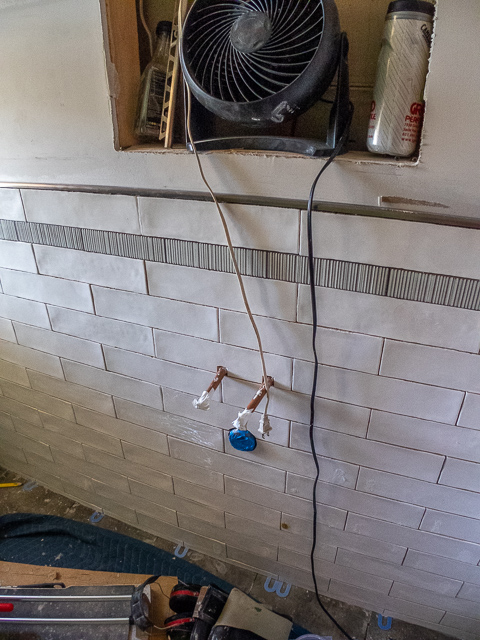
First wall done - the top finish is a metal quarter-round molding in brushed nickel (like all the other fittings/fixtures). The row of accent tile will continue around the entire room, including through the shower stall. The opening at the top of the photo is for the medicine cabinet (June 26).
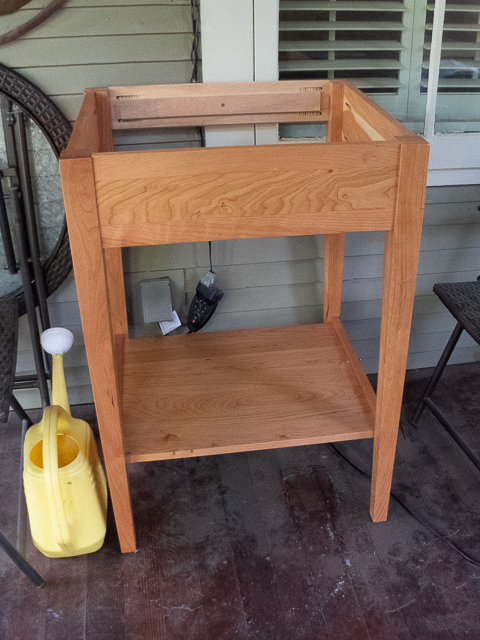
The vanity was delivered a few days ago and waits on the front porch until installation (June 27).
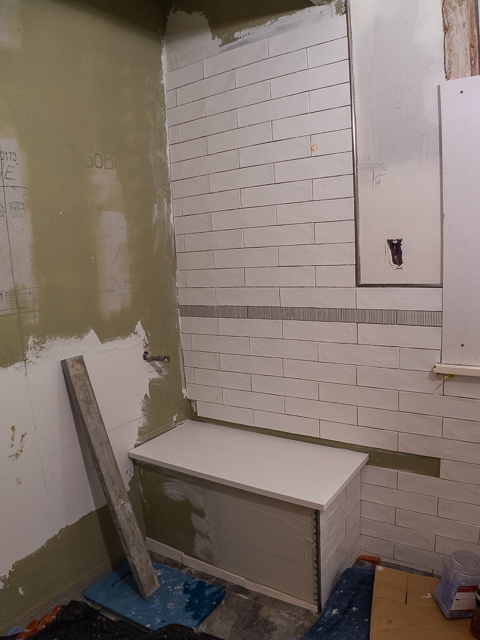
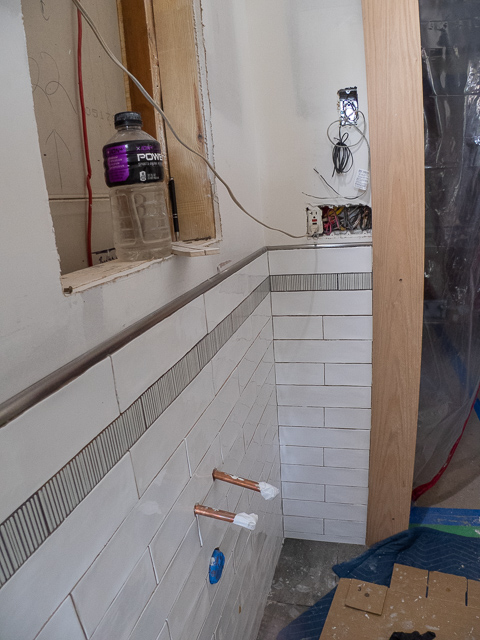
The Corian bench top is installed along with most of the tile on the outer wall (June 27).
The tile setting continues into the shower stall; the plastic form for the niche/cubby has been placed and the joints sealed with thin-set concrete; a layer or two of waterproofing will be added before tiling (June 28).
The short wall by the door has been tiled (June 28).
View from the hallway (through plastic curtain) (July 03).
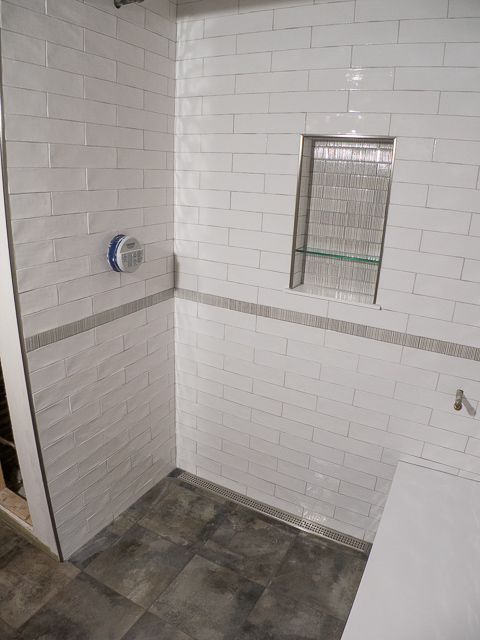
Standing in the corner where the toilet will be, shower stall with completed niche/cubby. Reflections on deco tile in the niche show texture of the tile (July 03).
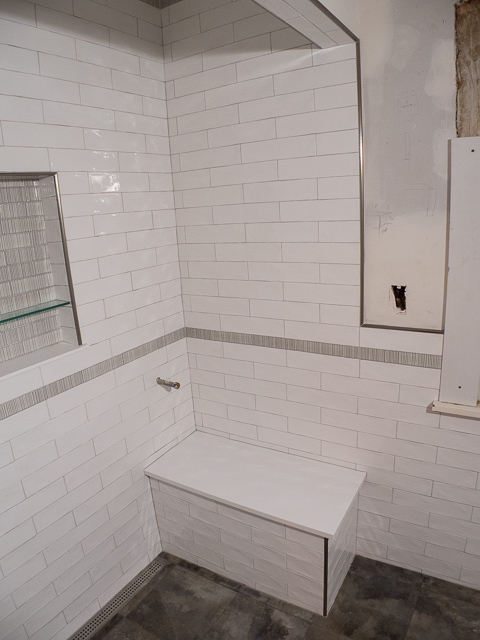
Standing where the vanity will be installed, the shower stall showing the bench (the pipe by the bench is for the hand-held shower) (July 03).
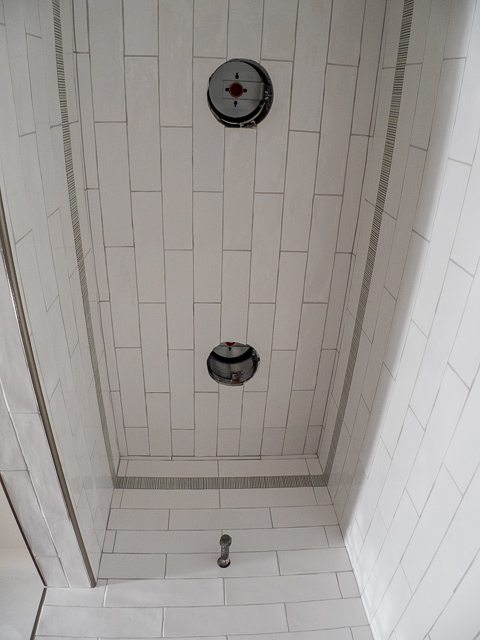
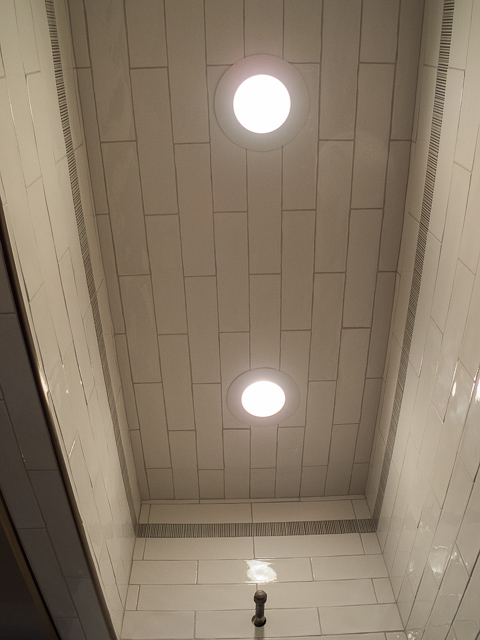
Sitting on the shower bench looking up at the ceiling - we had a surplus of the deco tiles, so I had them add a row just below the ceiling (July 03).
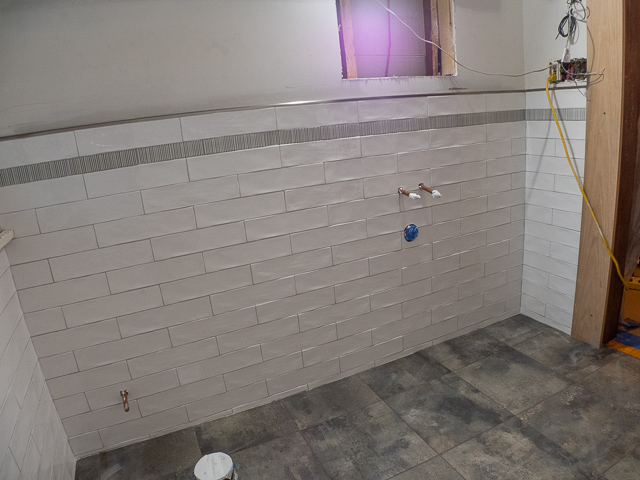
Sitting on the shower bench, looking at the wall where the toilet and vanity will be installed (July 03).
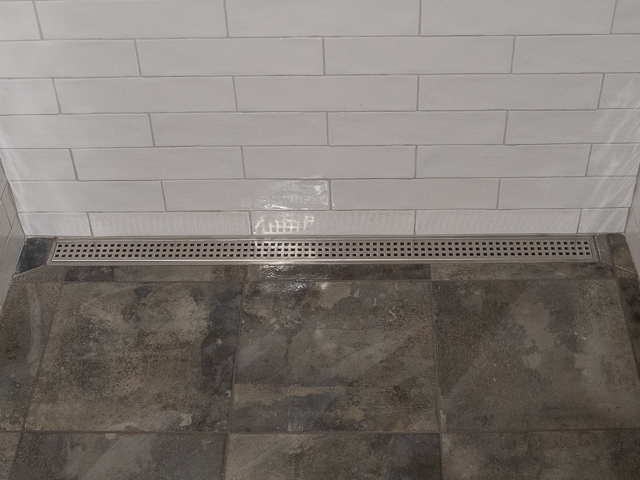
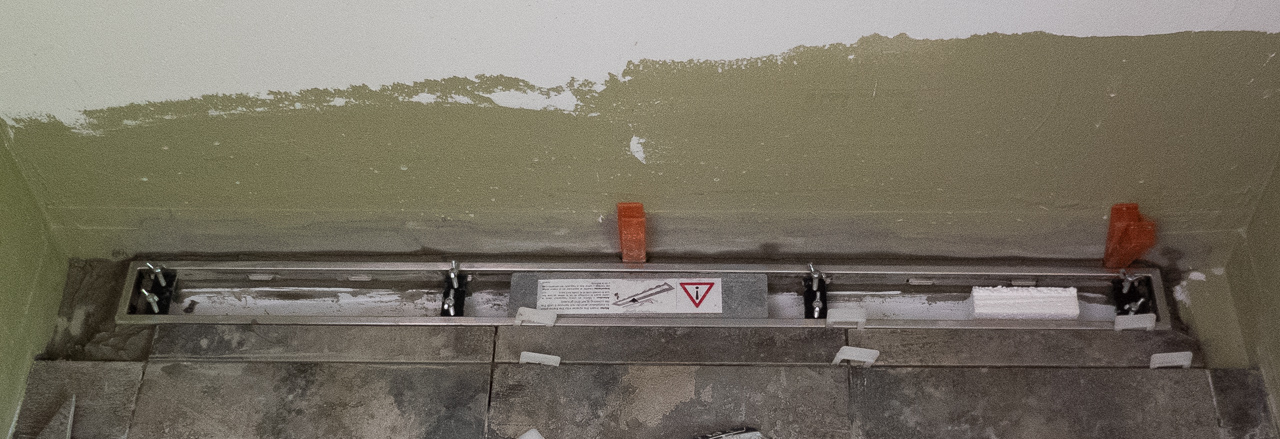
Close-up of the in-line drain; this is also shows the grout colors as installed, Silverado (light gray) for the walls, and Warm Taupe (medium brown) for the floor (July 03).

RThe carpenter (when he wasn't assisting the cabinet guys) was getting the medicine cabinet centered in the opening and filling the gaps with drywall and joint compound (July 08).
Reflected in the mirror is the opening for the cabinet which was delivered today, to be installed tomorrow (July 08).
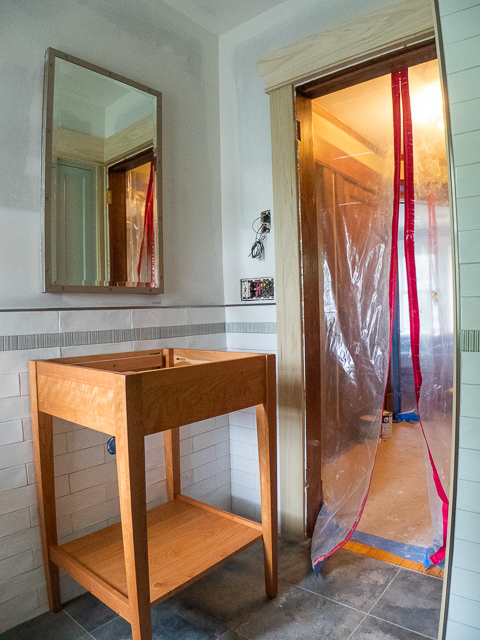
Framing around the door, window, cabinet, and over the shower has been installed, and is ready for painting. The vanity is positioned and raises the question of the clearance of the swing of the door which is hinged to the right and swings inward (July 09).
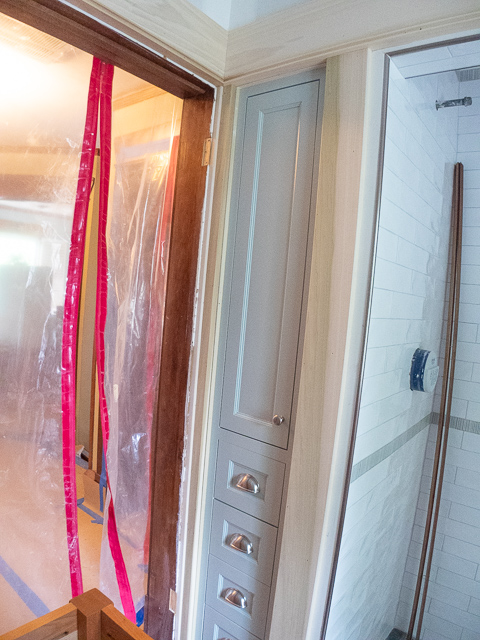
The cabinet was installed. It was pre-painted with color we are using the guest room. Because we decided to use the same color in the bathroom, I don't think we're going to repaint it white like the other molding will be. We'll see if the painters get the message (July 09).
Lights in the shower stall are LED on a dimmer. The LED fixture had variable/5-levels of 'temperature' of light. Pretty cool! A little fiddling with the switch on the back resulted in selection of a setting just to the yellow/warm side of neutral (which I thought was too blue) (July 10).
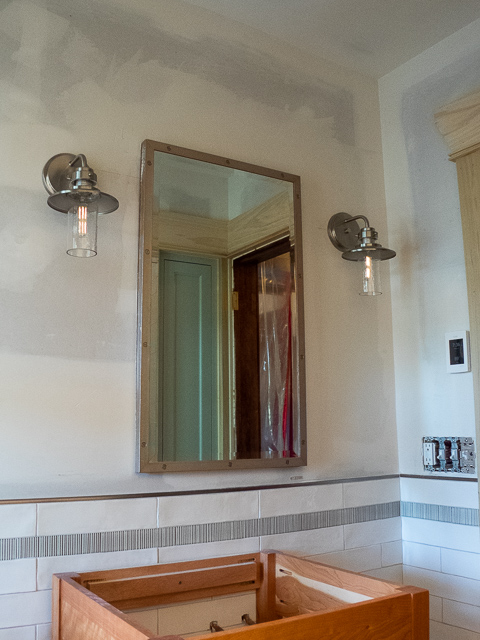
The wall sconces installed with LED decorative lights. These are 60W equivalent, set low using the dimmer to aid photography. With the issue with the door clearance, the lights and medicine cabinet will have to shifted over about 2" to the left (July 10).
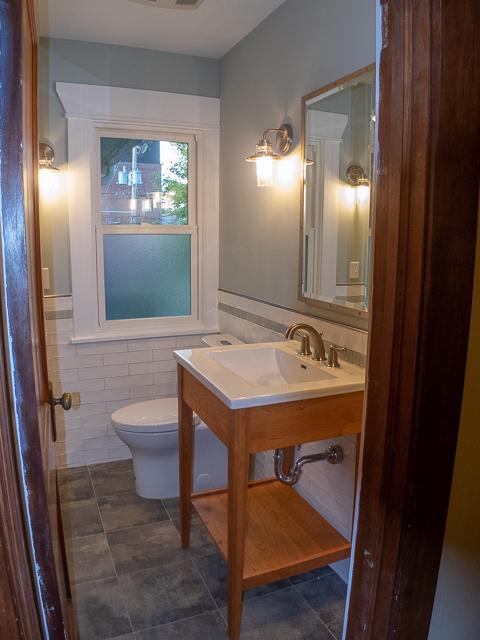
After our three weeks in Pine Point, the bathroom is essentially painted and essentially complete except for minor punch list items. The medicine cabinet and sconces have been shifted, and you would never know it (August 04).
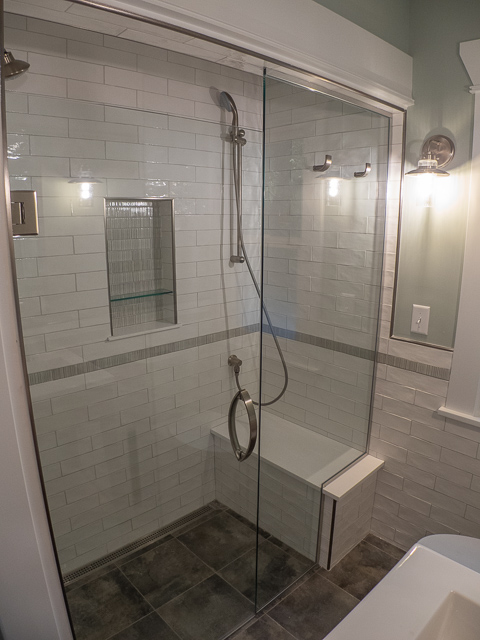
The shower stall glass has been installed, making the shower fully functional. Jonathan got two showers in before I had my first (August 04).
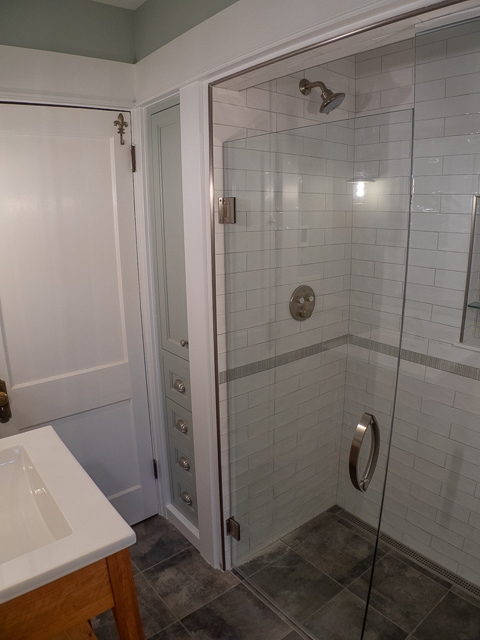
Standing behind the toilet looking back out, the millwork is painted, and the cabinetry remains gray (August 04).

Tillie checks out the shower (August 04).